Requirements
What you need
If you can run Marvel Rivals, you can run this.
Windows 10 or 11
64-bit desktop.
Marvel Rivals
A Steam, Epic Games, or Loading Bay copy.
Any card runs the app
Quality Settings needs an NVIDIA card. On AMD and Intel that tab opens and says why it cannot work there.
Getting started
Setting it up
Six steps, a couple of minutes, and one of them is optional. Everything after the install happens inside the app.
- 1
Run the setup
Installs in seconds and updates itself from then on. Windows may show a SmartScreen warning because the app is unsigned: click More info, then Run anyway.
- 2
Let it find your game
It detects Marvel Rivals on Steam, Epic Games, or Loading Bay. If it can't, browse to the folder from the Game Install card.
- 3
Install the Signature Bypass
One click from the Home card. Mods, graphic packs, skins and sound mods can't load without it. It writes into the game's Binaries\Win64 folder, so Windows raises a permission prompt. It's built into the app, so there's no separate download.
- 4
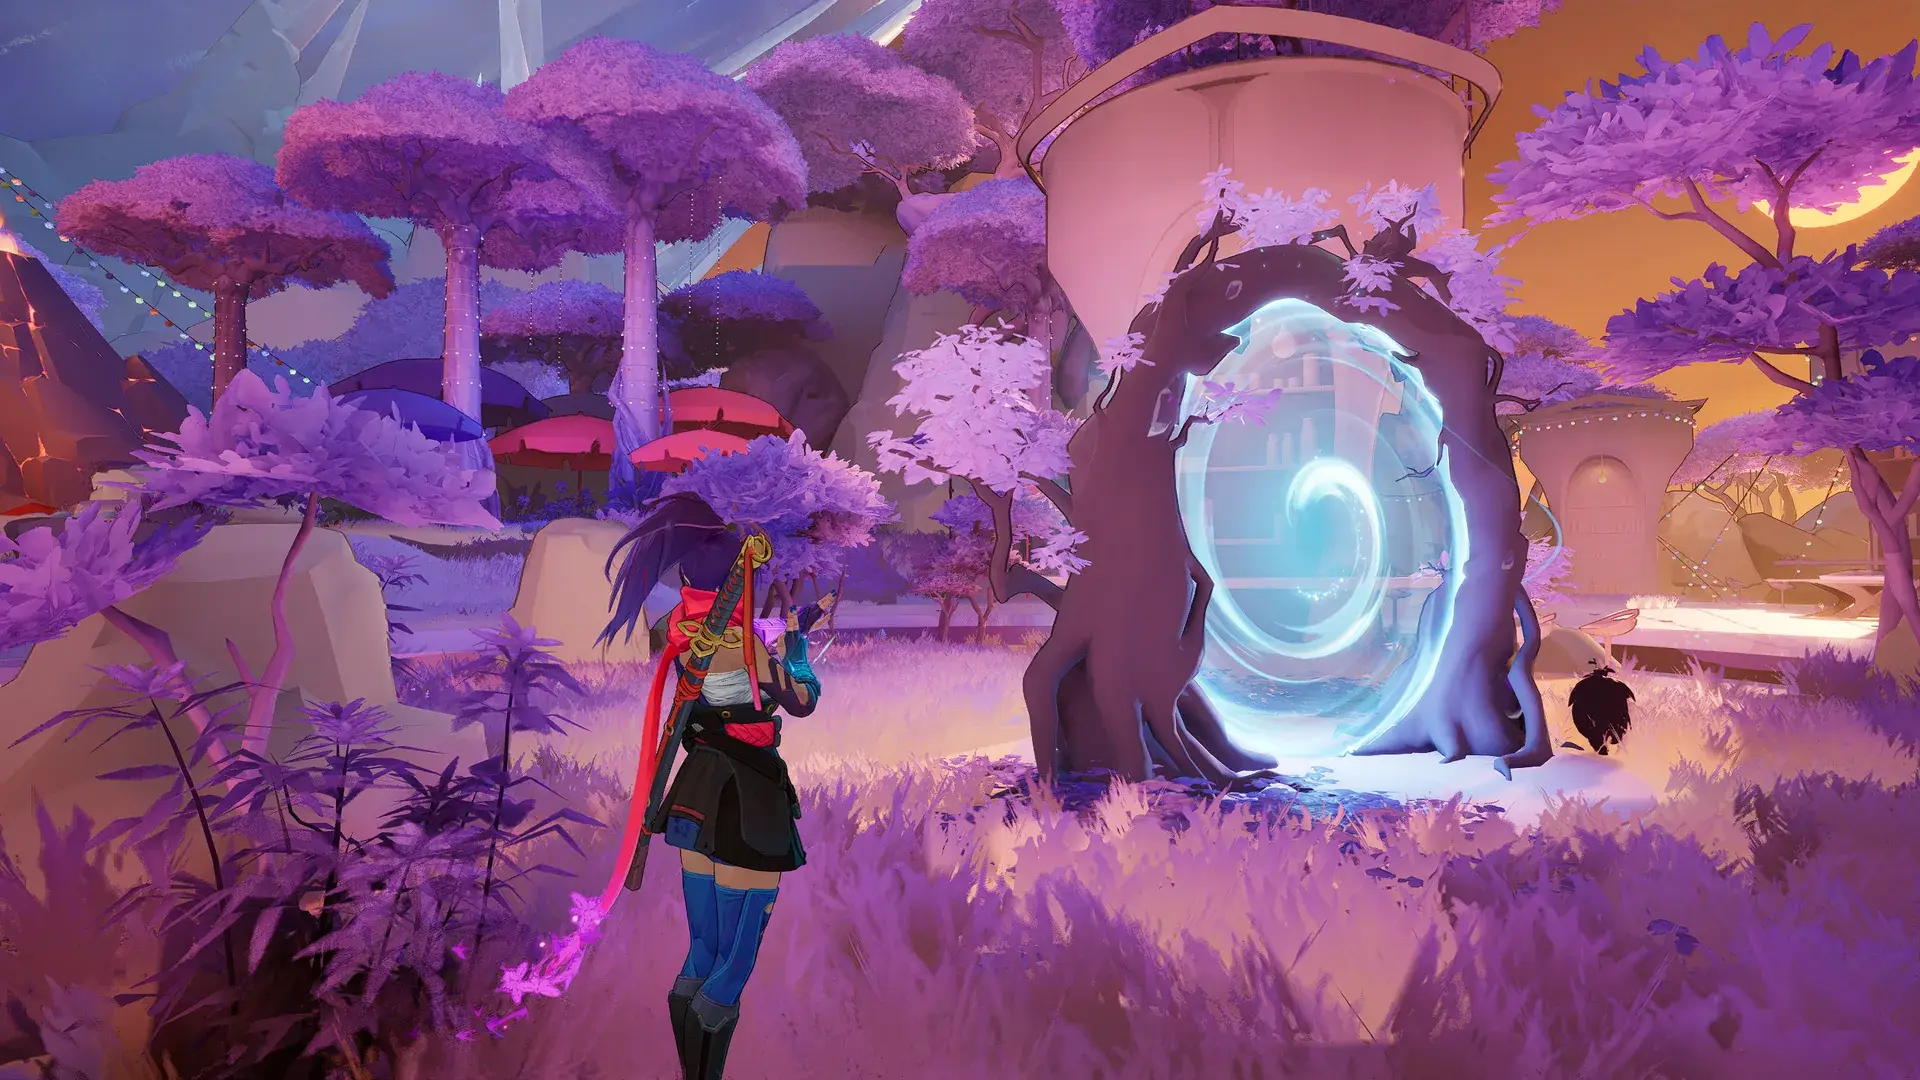
Activate a graphic pack
Open Graphics and switch one on. Packs are built on your PC from your own game files, so there's nothing to download, and one runs at a time. The layer selects above the library go further: set Competitive for the lightest textures, or Pretty to keep the detail.
- 5
Arm a Quality preset, on an NVIDIA card
Optional. Open Quality and activate a tier to trade texture quality for FPS through your NVIDIA driver. No game files are touched. It needs an NVIDIA graphics card, and on AMD and Intel the tab opens and says why it cannot work there.
- 6
Launch the game
Hit Launch Marvel Rivals on the Home tab. It checks your enabled mods for known-flagged ones first, then writes your armed Quality preset for that session. Closing the window keeps the app in the tray so it can put your driver profile and launch settings back when you quit.
To undo it all, open Settings and use Revert All Changes. It returns Marvel Rivals to vanilla, leaving other mods untouched.